.png)
WRAP BRACELET HOW TO
- Oils & Beads

- Oct 22, 2019
- 4 min read
Updated: Mar 2, 2020
Some of our best ideas come at the most unexpected places. Our Wrap Kit was born the day after a friend's wedding at a resort gift shop. We ran across our first wrap bracelet. The idea was there, the quality was not. We ordered up some lovely gemstones, lavas and wood beads and got to work.
We created.


Then we ordered more so you could create!
We sold kits, but we never told you how to make them. Until today.
Kudos to you who figured it out!
The following instructions do not take your creative genius into account. This is basic instructions, training wheels if you will, for you to start. Once you are comfortable, take those training wheels off and unleash your creativity! Until then, here's your instructions.
Supplies
Beads - We like 6 mm beads - any bigger feels too heavy and bulky. However, if you like heavy and bulky - you could go 8 or 10! You also could use different size beads but that flairs up my OCD.
Bead Board - This is optional. Typically, we just suggest a felt square to keep your beads from rolling off the table as you work. For these wrap kits, you might want to pick up a bead board. They sell them at most craft stores. We don't sell them because shipping them would be no fun.
String - We use stretchy .8 mm crystal string.
Spacers - I like spacers between the bead types. I think it looks more finished and a little fancy, even if you use earthy beads. In the example below, you only need three.
Glue - We like Loctite super glue. It comes in all our kits.
Charms - Because they are fun.
Instructions felt too pushy, I'll use the word guidance.
1. Get your supplies together. You will not be happy if you have to run to the store for glue at the end of the project with a naked wrist. Have all your above supplies ready!
2. Choose your beads. This is the fun part. This can be stressful but doesn't need to be. Remember, if you don't like it, cut it apart and start over. Or give it to your sister-in-law.
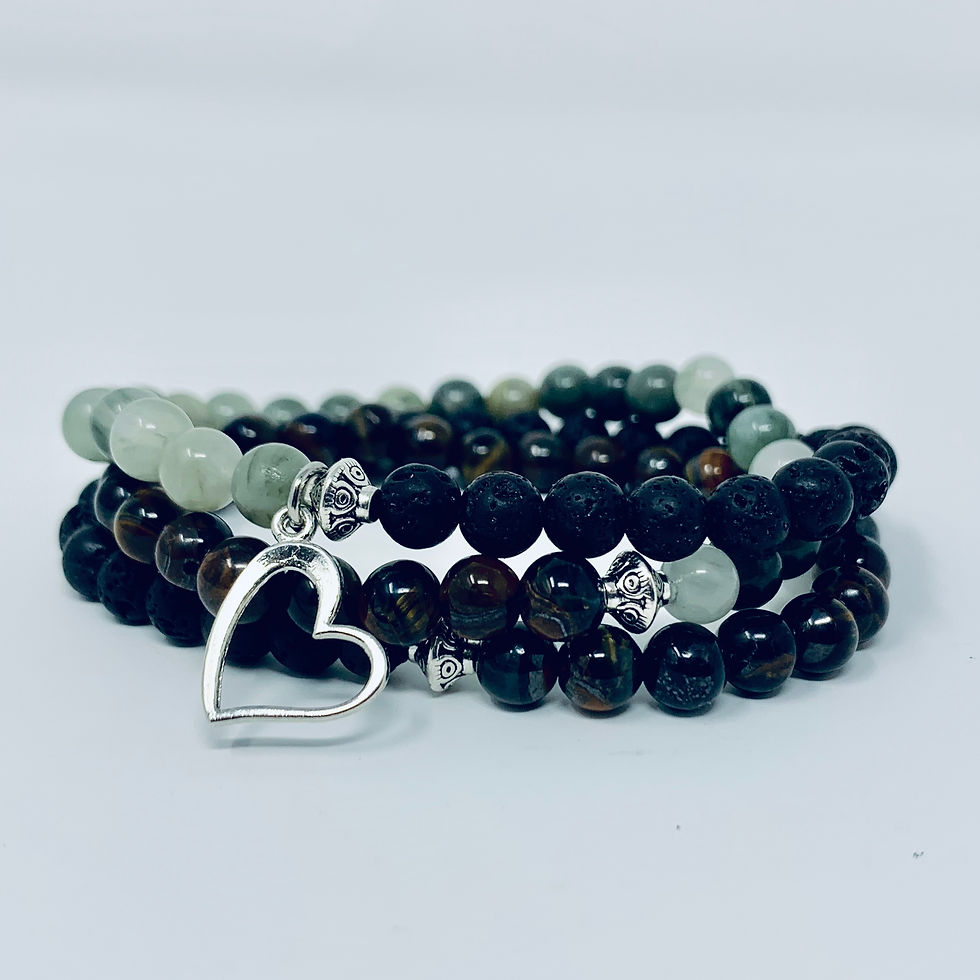
We find three different kinds of beads to wrap best. You tend to see each style of bead from any angle. One of the three should be either lava or wood to hold your essential oil. The other two you get to choose!
For my wrist size, I use 90 total beads, or 30 of each type. I have seen wrist sizes vary from 85 to 95 beads depending on how big your wrist is and how tight you like them. Pro Tip - Put the lava beads on last and take off some or put more on as you need before you tie the knot.
CHAKRA BRACELETS – We recently added chakra wrap kits. These are a little different as there are 7 different gems and either lava or wooden beads. We use 10 of each gemstone in ROY G BIV order. Red, orange, yellow, green, blue, indigo and violet (or in our kits, the crown chakra is clear instead of violet). Then fill in what you need with lava or wooden beads – for my size wrist I use about 8. The rest of the steps are the same.


3. Lay it all out on your bead board or felt square. Don't forgot to put your spacers in there. If you get to the end of stringing 90 beads and forgot the spacers, you might get crabby.

4. String it. Give it a good stretch before you start. Like a REALLY good stretch. You don't want it to stretch out later after you string all 90 beads. Also, once in awhile there is a weak spot in the string. You will find it if you stretch it good.
This is where I learned I needed bifocals. Seriously. Those holes are tiny. Put some good music on, grab a cup of coffee, or a glass of wine (just one, you don't need any more challenges at finding that hole) and start stringing. If you create with friends, this is a time you can remind each other how much you love and appreciate each other. You'll have time.

5. Size it. This is easiest if you create with friends. It's cumbersome if you have to do it yourself, but you can do it. I believe in you. Wrap it around your wrist three times and see how it fits. Put on or take off a few beads if you need to.

6. Tie that knot. A simple knot pulled really tight with a drop of glue will hold. You might need to practice this move a few times. Once the Super Glue dries on the knot, slide it onto one of the spacers or a larger holed wood or lava bead.
This is what it looks like unwrapped.

7. Add a charm. Find one that makes you happy. You will need a jump ring and a needle nose pliers. The kits we offer come with jump rings and charms, but you need your own pliers.

8. Add essential oils to the lava or wood beads. We find the best way is to put a drop in your hand, then roll the beads in your hand. This keeps the oil off the string, that can be weakened over time by the oils.
9. Wear it. You created it, now show it off!
We have put together kits that will make approximately 12 bracelets, probably closer to 14. They come with lava beads, wooden beads, 14 different kinds of gem beads. They also come with string, glue, a scissors, charms, spacers and a box to keep things tidy. The investment is $75. That is about $6.25 per bracelet. This will save you time and money.

Now go and create something wonderful!

Comments